10 Essential Mobile Photography Tips for Capturing Stunning Shots
Mobile photography has revolutionized how we capture moments, making it easier than ever to take stunning shots with just a smartphone. To elevate your photography game, here are 10 essential mobile photography tips that will help you unlock the full potential of your mobile device:
- Understand Lighting: Good lighting is crucial in photography. Aim for natural light and avoid harsh shadows by shooting during the golden hour—shortly after sunrise or before sunset.
- Keep It Steady: Use both hands to hold your phone and consider using a tripod for extra stability to prevent blurry images.
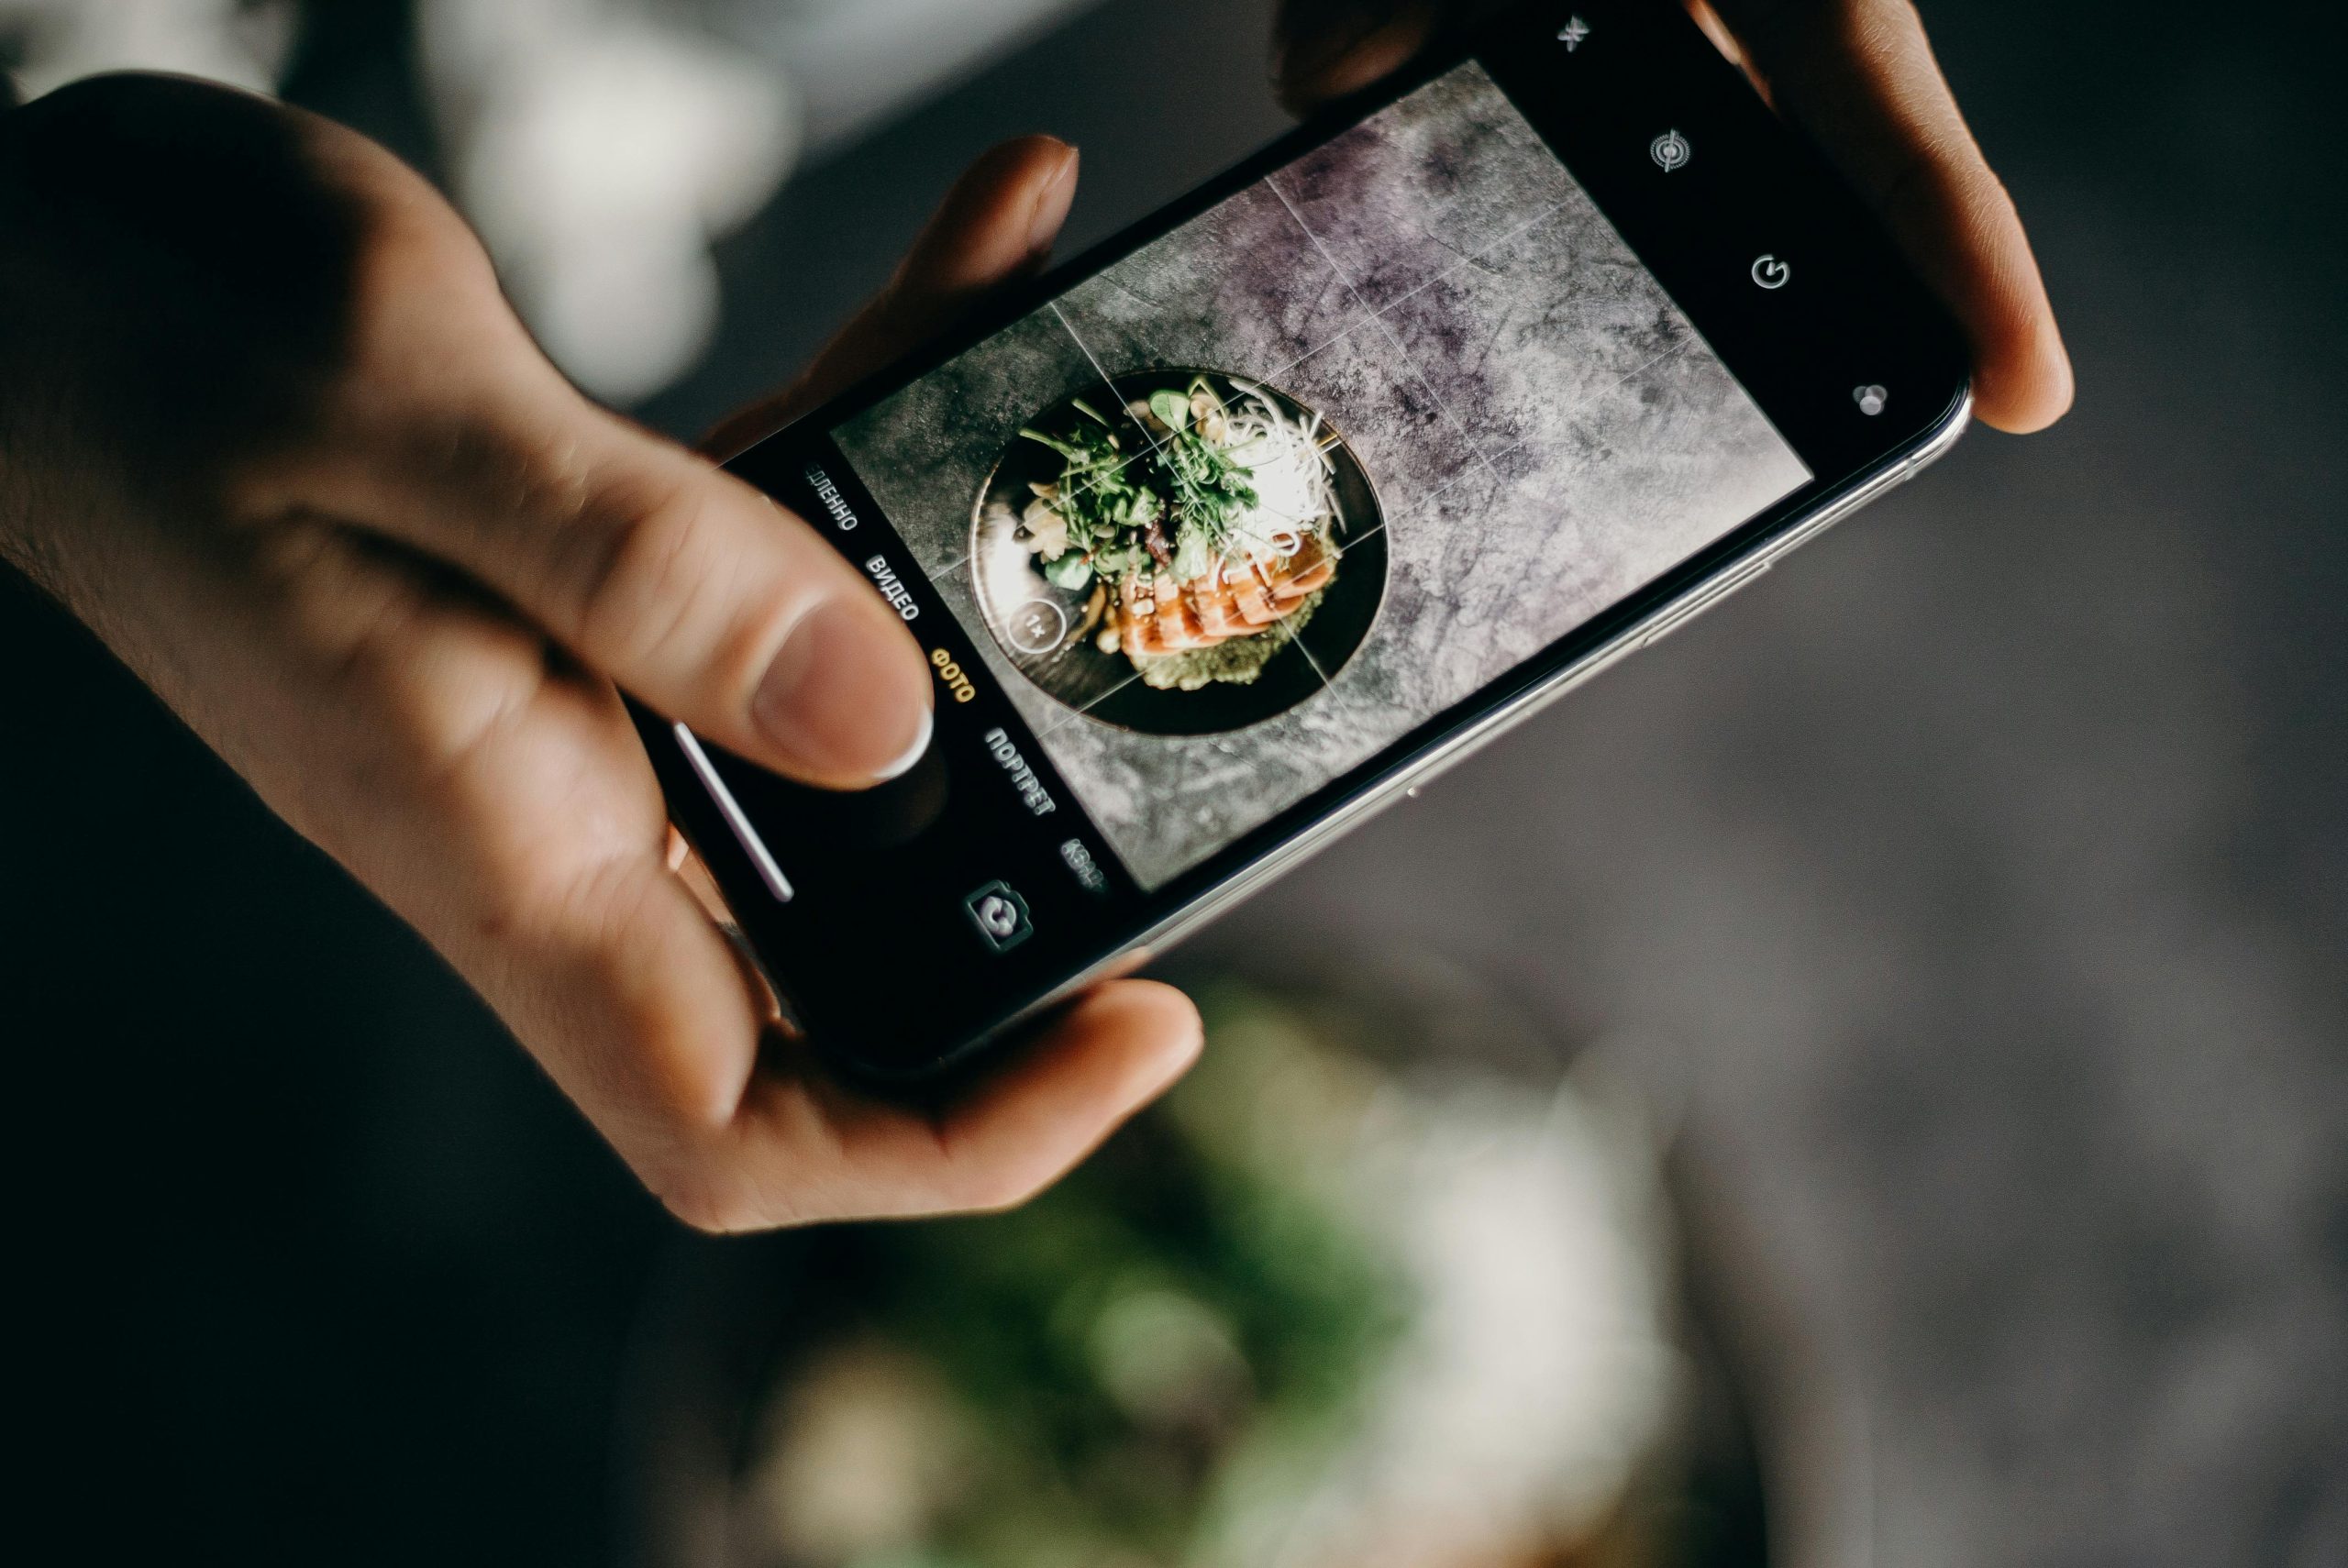
- Frame Your Shots: Use the rule of thirds to create balanced and engaging compositions by aligning subjects along imaginary grid lines.
- Experiment with Angles: Don’t hesitate to try different perspectives. Shoot from low angles or high viewpoints to add interest to your photos.
- Utilize Editing Apps: Post-processing can enhance your images significantly. Explore various mobile editing apps to refine brightness, contrast, and colors.
- Focus on Composition: Pay attention to your background and foreground to avoid distractions that can detract from your main subject.
- Utilize HDR Mode: High dynamic range (HDR) mode is great for dramatic scenes with both bright and dark areas, helping to capture details in shadows and highlights.
- Take Advantage of Gridlines: Enable gridlines in your camera settings to help align your shots and maintain proper symmetry.
- Learn Your Camera’s Features: Familiarize yourself with your mobile camera’s settings, including exposure, focus, and different shooting modes for creative flexibility.
- Practice Regularly: Like any skill, photography improves with practice. Challenge yourself to take a photo every day to develop your eye and technique.
Counter-Strike is a highly popular first-person shooter game that emphasizes teamwork and strategy. Players can choose to be part of either the terrorist or counter-terrorist team, working together to achieve specific objectives. As the gaming community evolves, players are always looking for the best gear to enhance their gameplay. For those interested in mobile photography, consider checking out the Top 10 Camera Grips for iPhone 17 to capture stunning in-game moments!
How to Edit Your Mobile Photos Like a Pro: Tools and Techniques
Editing mobile photos like a pro requires the right combination of tools and techniques. Start by choosing a robust editing app, such as Adobe Lightroom or Snapseed, which offer powerful features right at your fingertips. Once you've selected your app, familiarize yourself with its basic functions: cropping, adjusting exposure, and applying filters. For the best results, consider the following techniques:
- Adjust brightness and contrast to enhance the vibrancy of your images.
- Use color correction tools to maintain color accuracy and improve overall appeal.
- Apply sharpness enhancements to make details pop without overdoing it.
In addition to using the right tools, mastering a few advanced techniques can elevate your mobile photography to professional levels. Experiment with layering your edits to create unique effects; for instance, start with light adjustments before adding filters. Furthermore, explore the use of gradient filters and selective editing options to focus attention on specific parts of your image. Finally, always keep your end goal in mind: tell a story with your photos that resonates with your audience. With practice and the right approach, anyone can learn to edit their mobile photos like a pro.
What Are the Best Settings for Mobile Photography in Different Lighting Conditions?
When it comes to mobile photography, the best settings can vary significantly depending on the lighting conditions. In bright daylight, it’s crucial to avoid overexposure, so consider reducing the exposure level. Additionally, utilizing the HDR (High Dynamic Range) mode can help you capture more detail in both shadows and highlights. For instances where the sunlight is harsh, you might want to use a polarization filter, if available, to reduce glare and enhance colors. Don't forget to set your ISO low (around 100-200) to avoid graininess in your photos.
In low-light situations, adjusting your mobile camera settings is vital for obtaining clear, vibrant images. Start by increasing the ISO setting, but be cautious: higher ISO levels can introduce noise. A good range to aim for is between 400 to 800, depending on your device. Additionally, consider using a longer exposure time to let more light in; just be sure to keep your hands steady or use a tripod to prevent motion blur. Finally, always check if your smartphone has a night mode feature, as it can significantly improve the quality of low-light shots.